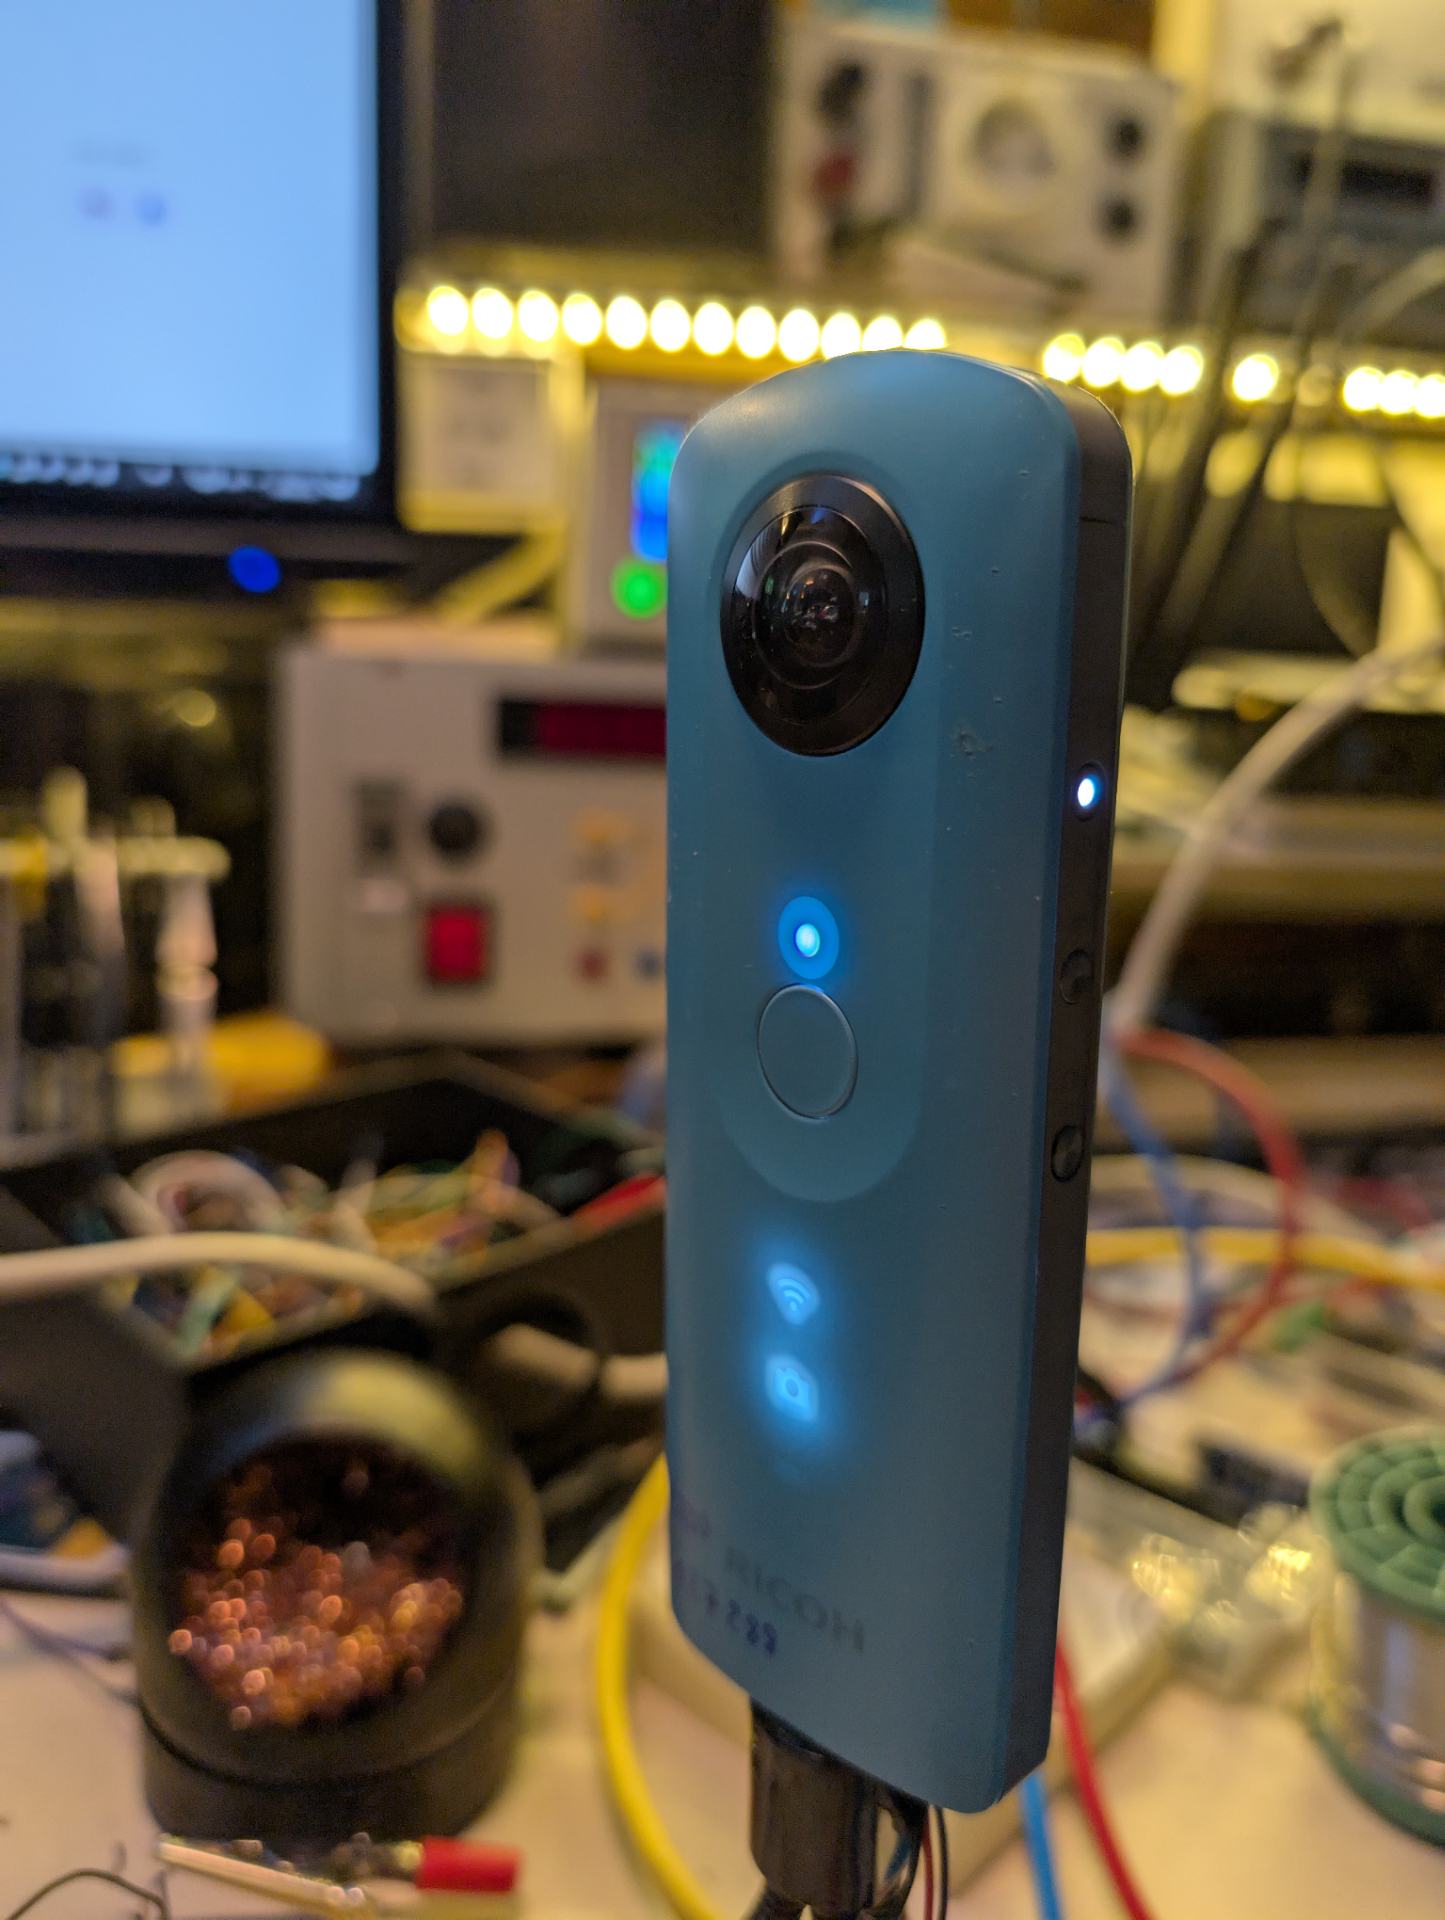
I bought a Ricoh THETA SC on eBay for around 27 euros. It was sold as defective, but when it arrived, I noticed it was very lightweight, which was caused by it having no battery. The battery of the Ricoh Theta X is not user-replaceable and is fully enclosed inside the device, secured by screws and plastic clips. This seems strange because the camera uses a battery type that is also used in other Ricoh cameras, but it can be removed in those models. The internal SD card, which is also behind screws and clips, is also missing, as are some screws. It also had a pretty deep gauge in one of the lenses.
Battery Dummy#
BatteryTo get the camera to power up i used some random battery from a nikon DSLR that had the same order of +, T and - and i clamped it to the terminals. The camera started right up and i got it to take some pictures (yay!). Leaving half of the case missing for clamping and the large DSLR battery however is not cool for usability. Therefore i looked up, what a battery would cost and directly knew it will be a DIY battery dummy instead. I couldn’t find any schematics for the internal wiring of the Ricoh battery, so i just searched for battery dummies in general and found the resistor value as a part of this 3D printable listing for a Sony ZV-1 dummy battery on printables.
For now i have substituted the step down converter with a lab bench PSU and took this schematic basicly only for the value of R1. As this is essentially simmulating a thermistor in the battery, Its supposed to have a certain value so the camera is happy about the batteries state, even if there is none. Also i have set the voltage to \(4\,V\) instead of \(3.8\,V\) for no particular reason. It should make no difference though, as a full Li-Ion batteries voltage will surpass \(4\,V\).

At first i couldnt find a \(75\,k\Omega\) resistor, so i tried a \(50\,k\Omega\) and \(100\,k\Omega\) one instead. For the \(50\,k\Omega\) resistor, the camera booted and directly turned off again. Only with the \(100\,k\Omega\) resistor, the camera booted. However the light directly below the lens was blinking red and at the time I thought that migth be some temperature alarm so i switched to \(72\,k\Omega\). I only realized later, that this was due to a too large SD card, that i have inserted in the empty slot inside. Apparently the early Ricoh cameras only support up to \(32\,GB\) of storage. Right now the battery dummy seems to work with a \(72\,k\Omega\) resistor as a thermistor dummy and \(4\,V\,DC\) to the positive battery terminal, as it seems to power the camera indefinetly.
With no WiFi live image transmission (idle):
With WiFi live image transmission but no recording:
With under \(2.5\,W\) of power consumption, the camera is within the High-power device category of USB 2.0. That means, it should be able to be powered by almost every USB outlet these days.
The Bodge#
I wanted to be able to use this hardware, so I used parts I had lying around and hot glue to easily power the camera. To achieve this, i used a Mini360 DC-DC Buck Converter with a panel-mountable USB-C port and the aforementioned resistor.
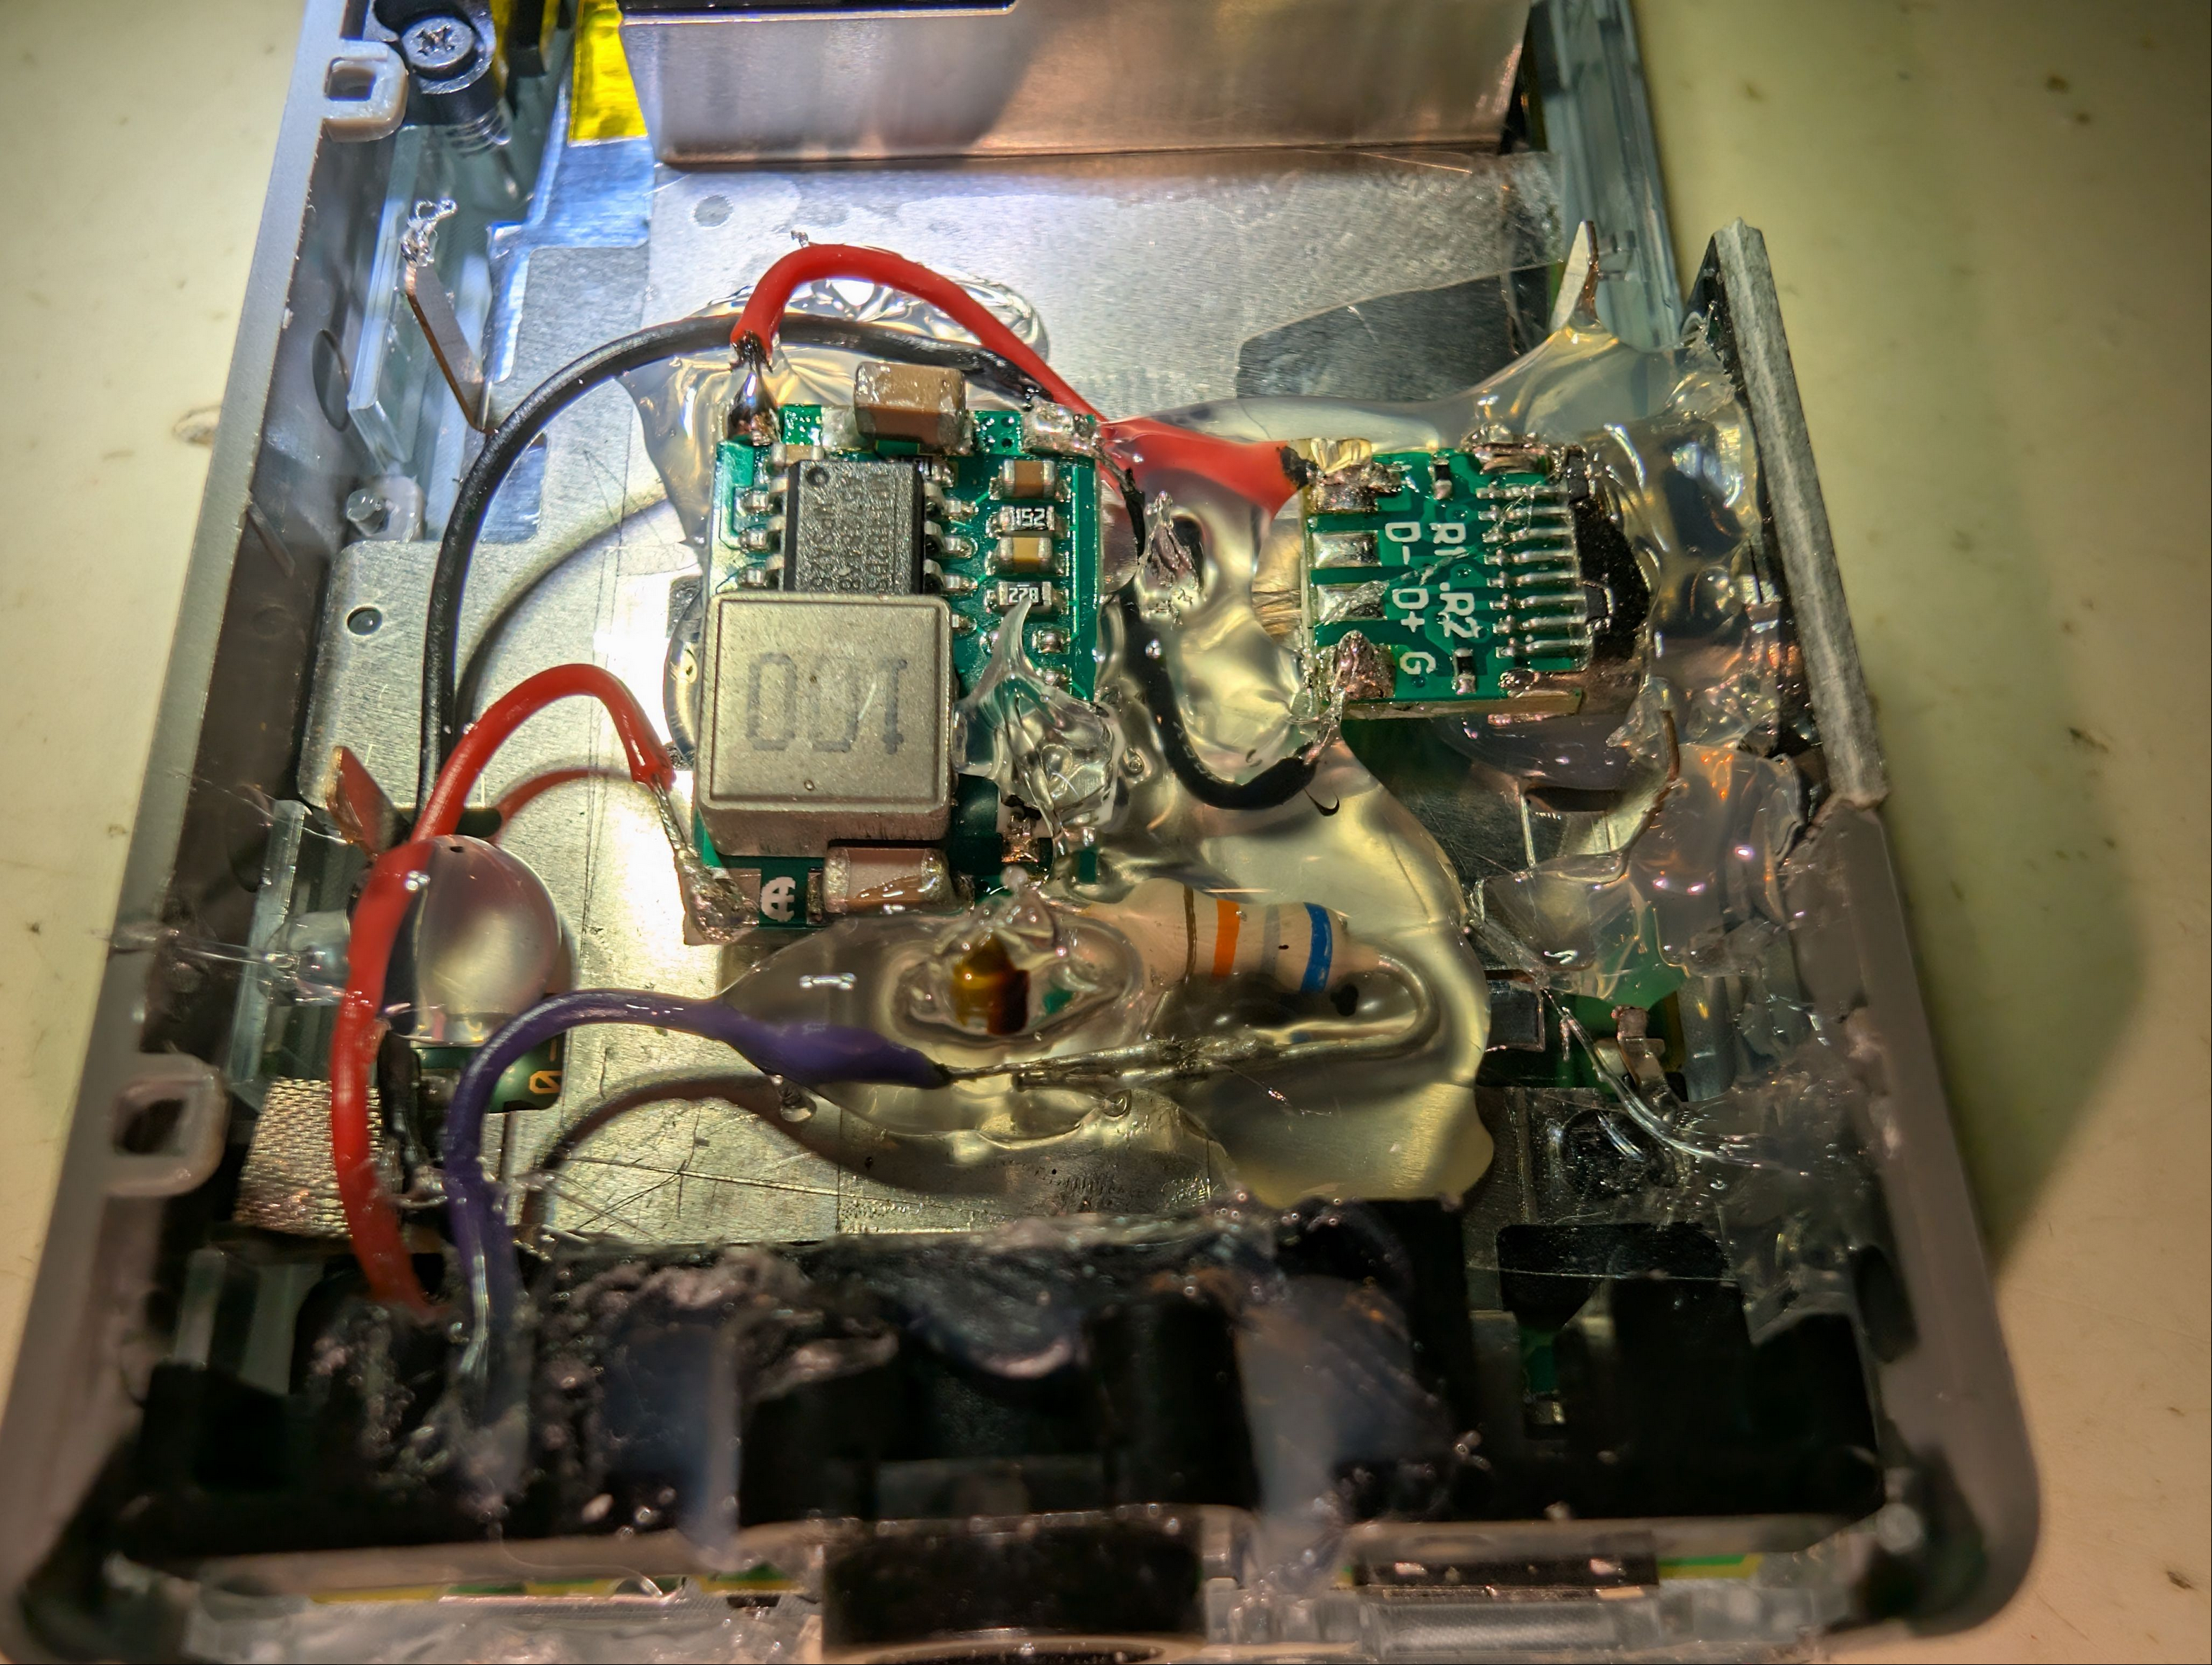
Coincidentally, the height of the USB-C port faceplate is the same as the width of the camera’s gray borders. Since this is supposed to be a quick ‘repair’, I am fine with it being glued in.

Dual Fisheye#
Ok i got pretty bamboozled by this one. So first of all: I want to mainly use the dual fisheye mode, as this allows me to use the geometrical characteristica of each individual lens to do “Structure from Motion” or also knwon as SfM or photogrammetry. So i was bummed, when I looked through the app and didnt find an option for dual fisheye mode, nor did the video_stitching option via the http API, that i know and use on an Ricoh THETA X alredy, work/exist on this model.
Next i opened a still image from the camera un my pc and it was already stitched, which was not a great start.

From then on I just assumed there would be just the standard equirectangular projection in video mode as well and that is it. However that is not the case. The camera stores the two lenses individually into a file when in video mode, which is very good news. I came to that conclusion, when i found this swedisch page, that talks about how the video stitching works if done manually with Hugin or in Blender. So i knew there had to be a way to switch the camera over. What i didnt quite realize at that point is, that this already happens in video mode, so i took another look at the video file outside of the Ricoh app and the video was just two circular single lens images next to each other. BINGO!
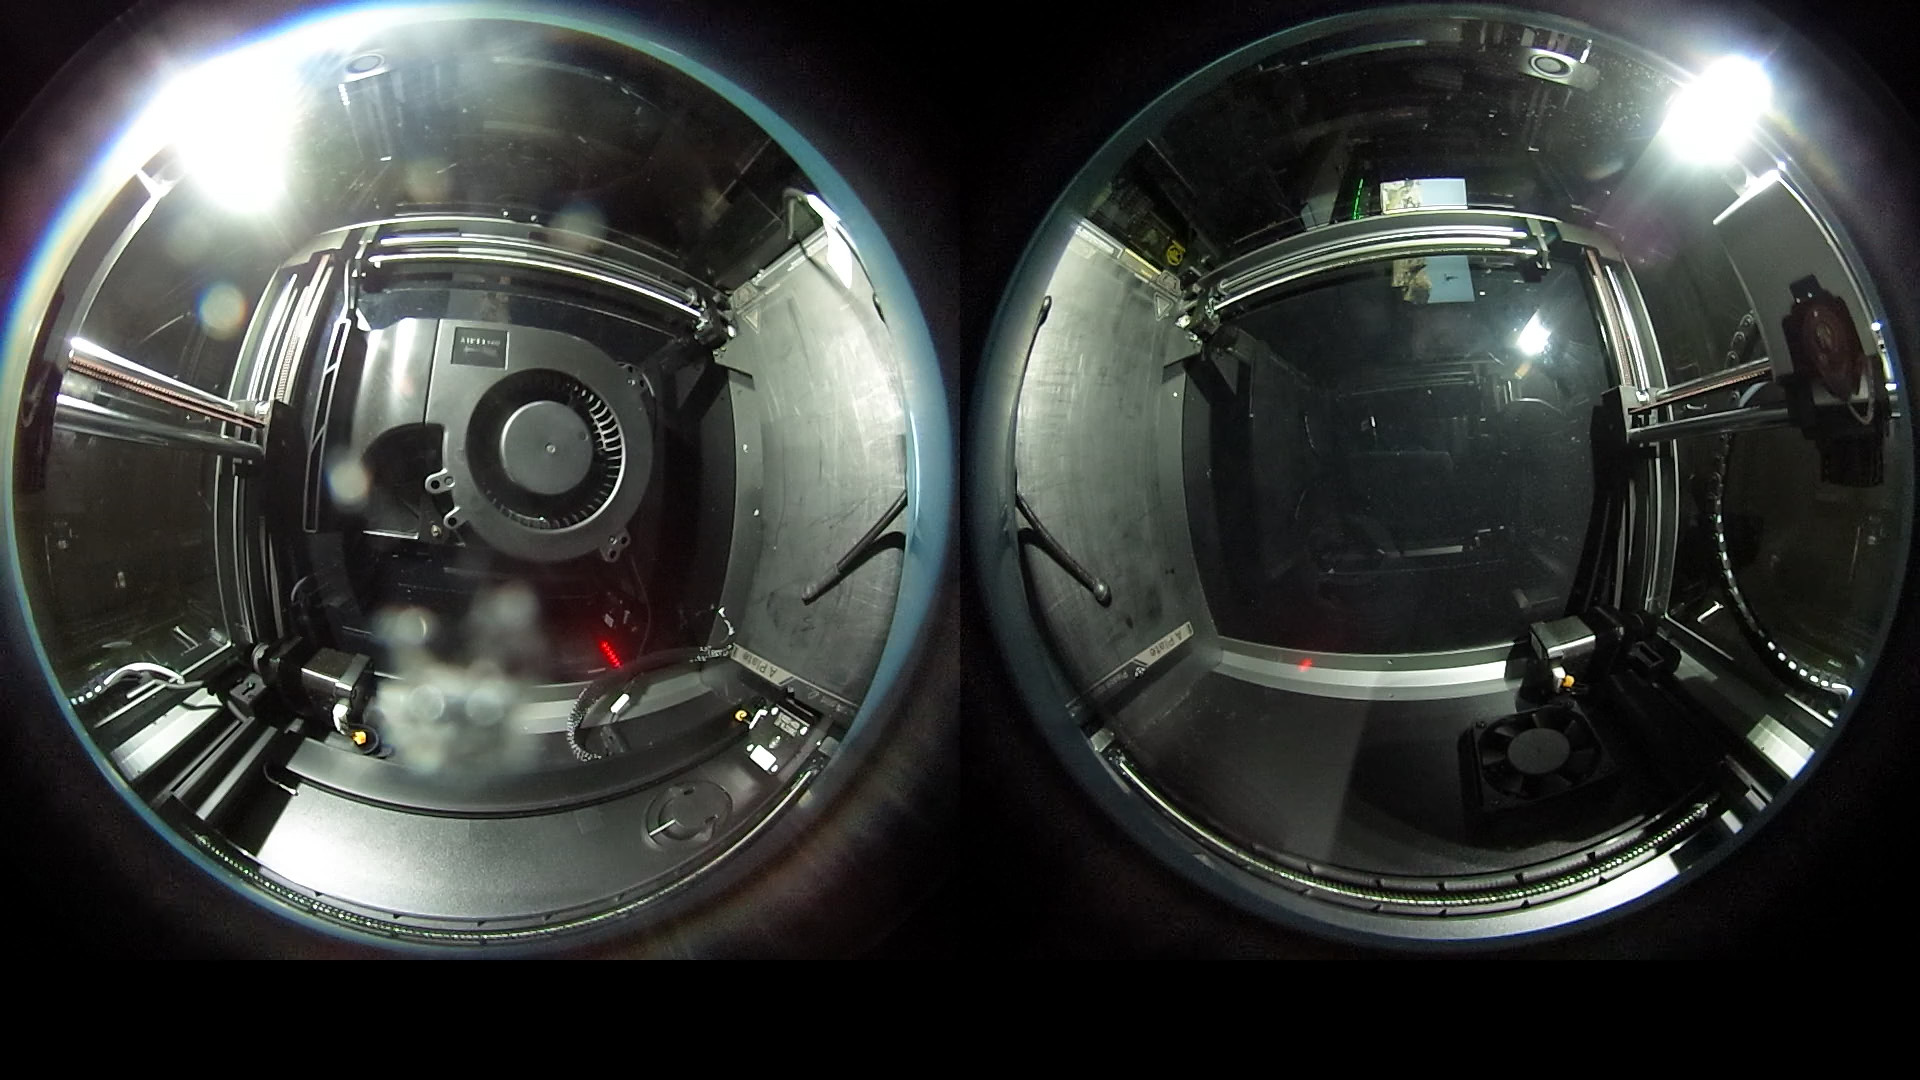
This is a huge relief, as this means, that the camera is suitable for direct(TM) use with colmap. The resolution is really not that good, but by running a script, that splits every screen in left and right half and then applying a predrawn binary mask for the black edges, the two halves are covering all possible viewing directions at once. By mixing in a higher resolution camera one can create high resolution 3D geometry models, while having lots of view dependent data to use in e.g. 3D Gaussian Splatting.